Getting started
Welcome to Menulisa
Menulisa runs your whole front of house from one place: a QR menu guests order from, a point-of-sale (the till) for your staff, split bills, tips, reports and more. This guide walks you through every part, one short page at a time — no tech background needed.
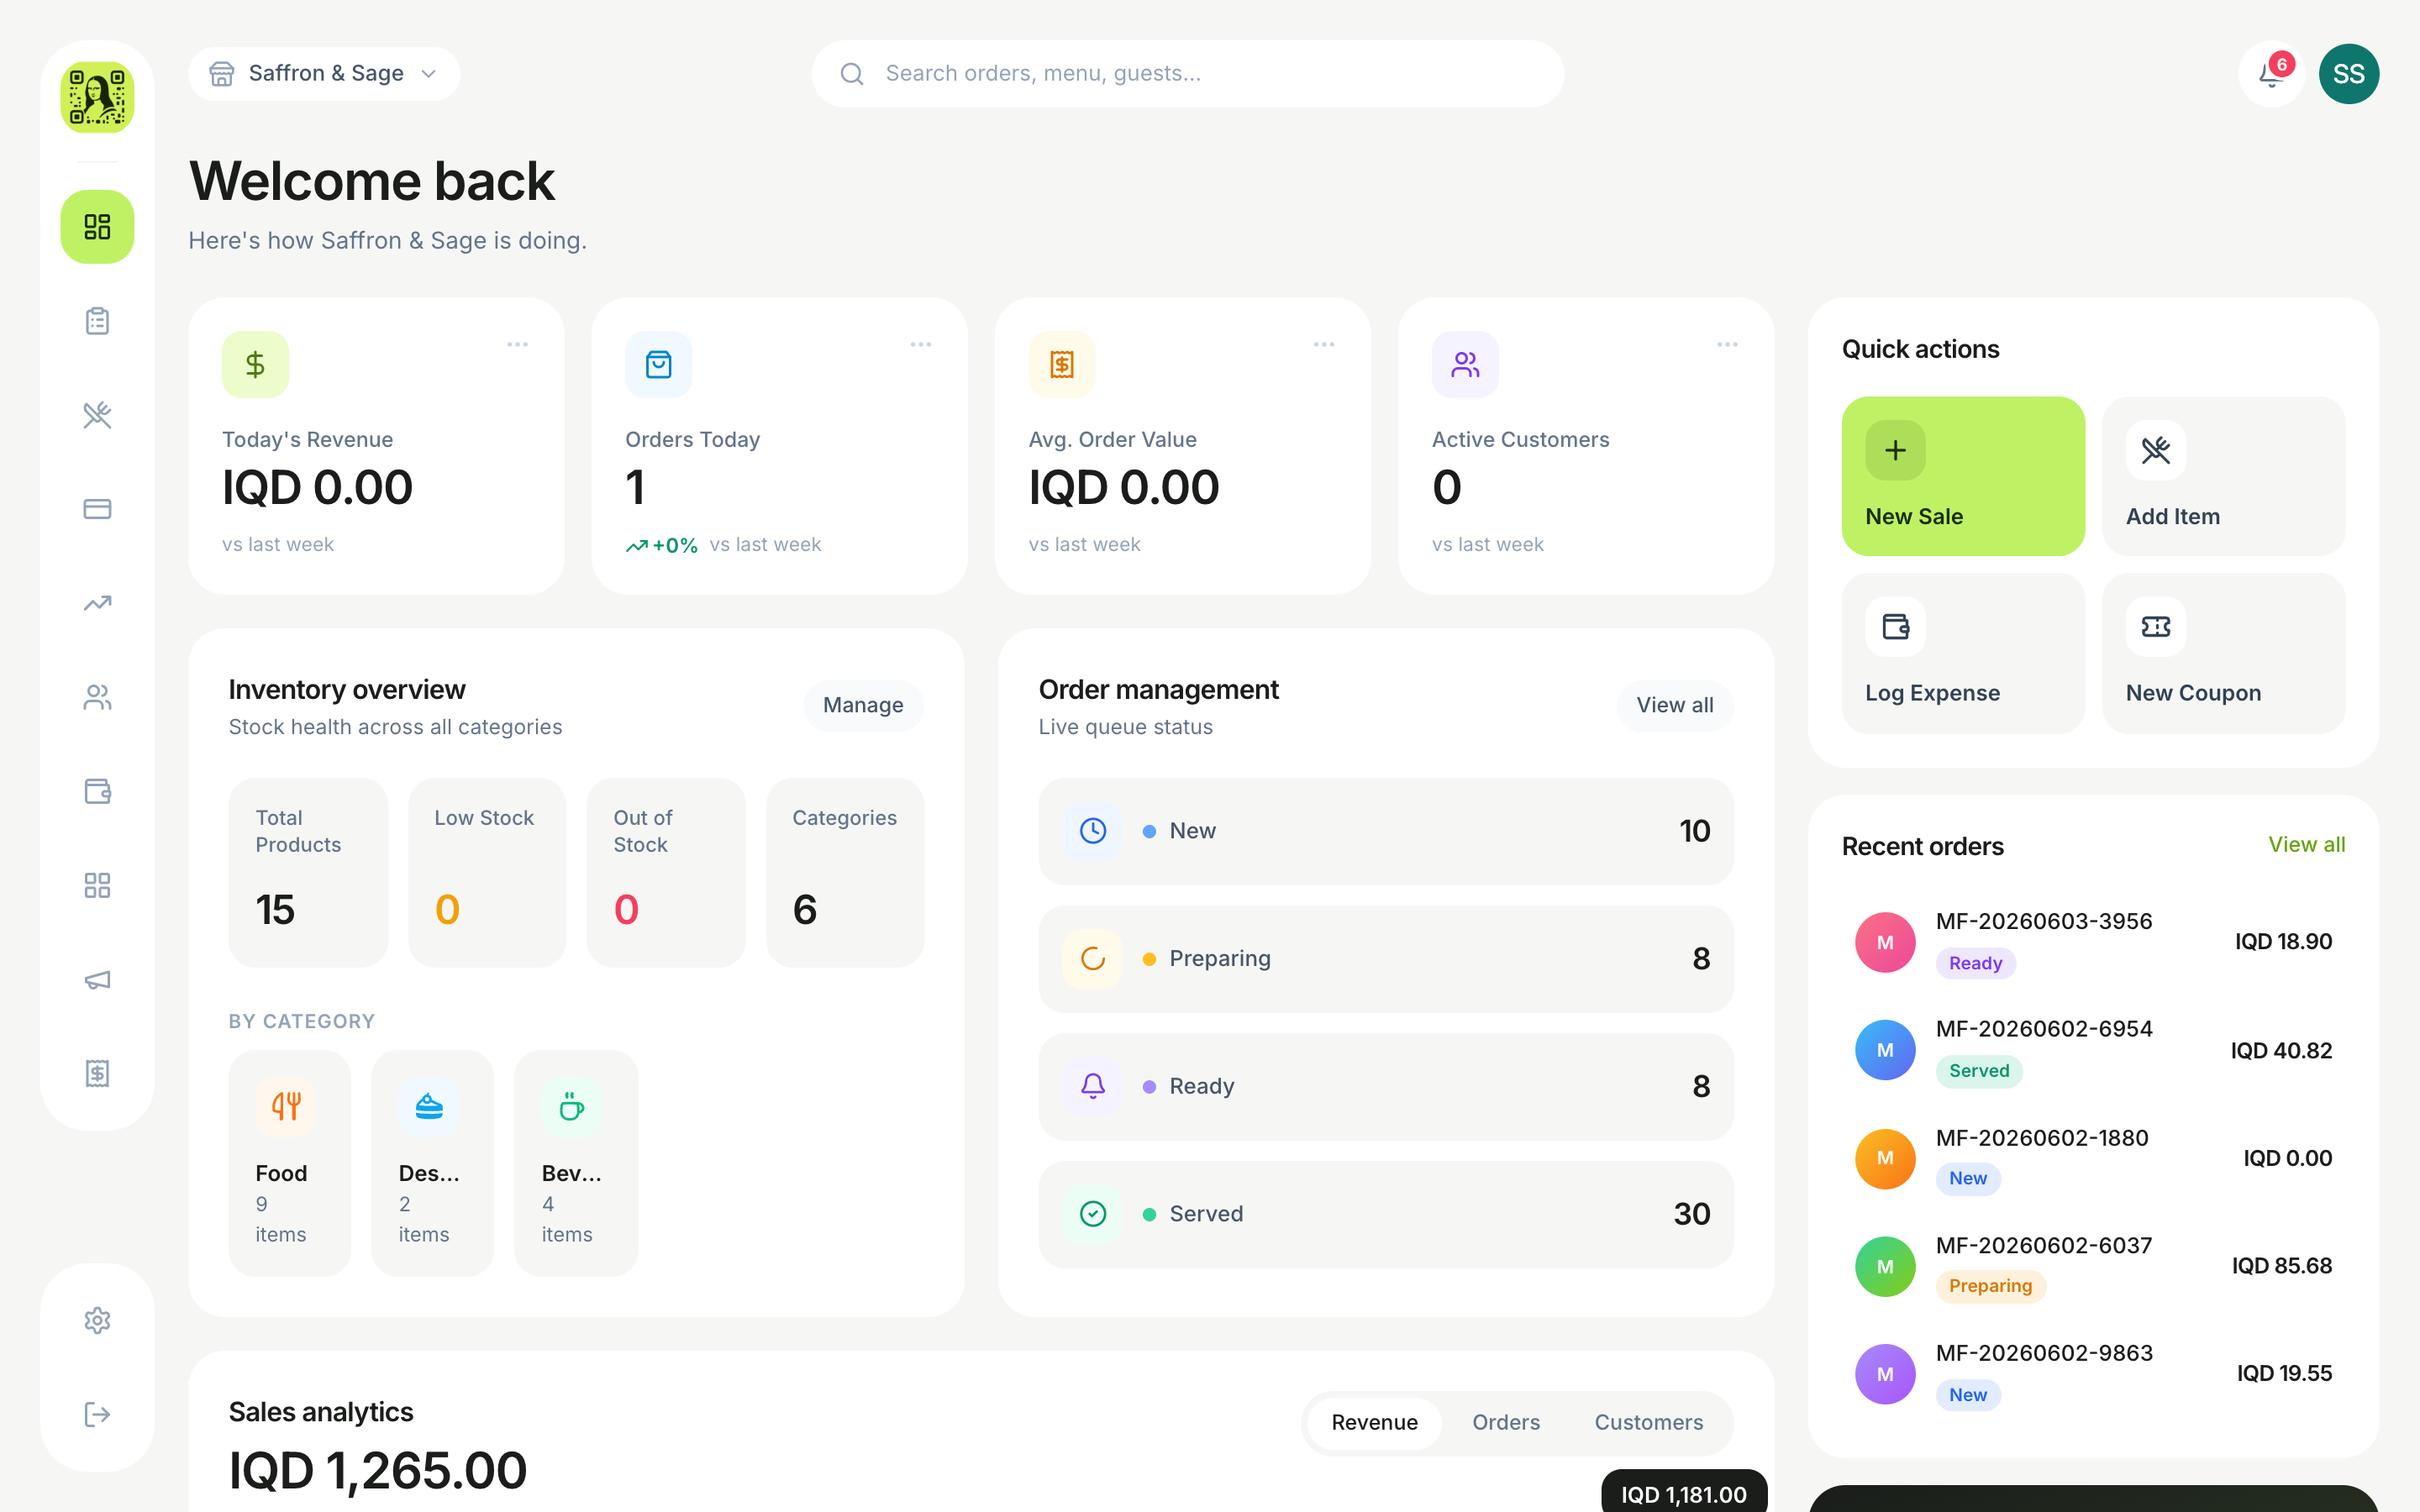
The three parts you'll use
- The Dashboard — your back office, on a computer. This is where you build your menu, read reports, and manage settings, staff and billing. It's where you are now.
- The POS — the till, on a tablet or phone in the venue. Staff use it to take orders, send them to the kitchen, and take payment. (“POS” just means “point of sale.”)
- The Guest menu — your menu on the customer's own phone, opened by scanning the QR code on their table.
Your first 10 minutes
- 1Click the link in the verification email we send when you sign up — the dashboard unlocks once your email is confirmed. (Didn’t get it? There’s a resend button on the verification screen.)
- 2Add your restaurant details under Dashboard › Setup › Restaurant info, then add locations under Setup › Branches.
- 3Build a menu with a few categories and items under Dashboard › Menu.
- 4Create your tables and print QR codes from Dashboard › Menu › QR codes.
- 5Pair a POS terminal and take a test order. You're live.
Every page in these docs ends with the exact menu path to the feature, so you can follow along in a second tab.
Still need help with this?
Contact support